
BTCPay Server Instant App
Self-hosted BTCPay Server VPS hosting
BTCPay Server is free, open-source Bitcoin payment processing. Compare live VPS prices, CPU, RAM, disk and regions, launch with a prepared admin on the plan you choose, and keep root access.

BTCPay Server
Instant App on marketplace VPS
Live marketplace offers
Compare BTCPay Server VPS plans
Choose billing and size, compare providers side by side, pick a location, then launch.
Inside BTCPay Server
BTCPay Server is self-hosted Bitcoin payment processing with stores, invoices and point-of-sale apps. Use it instead of paying Stripe or PayPal crypto fees. Sign in as the prepared admin after boot. No Instant App form fields are required at create time. Bitcoin sync continues after the UI is up.
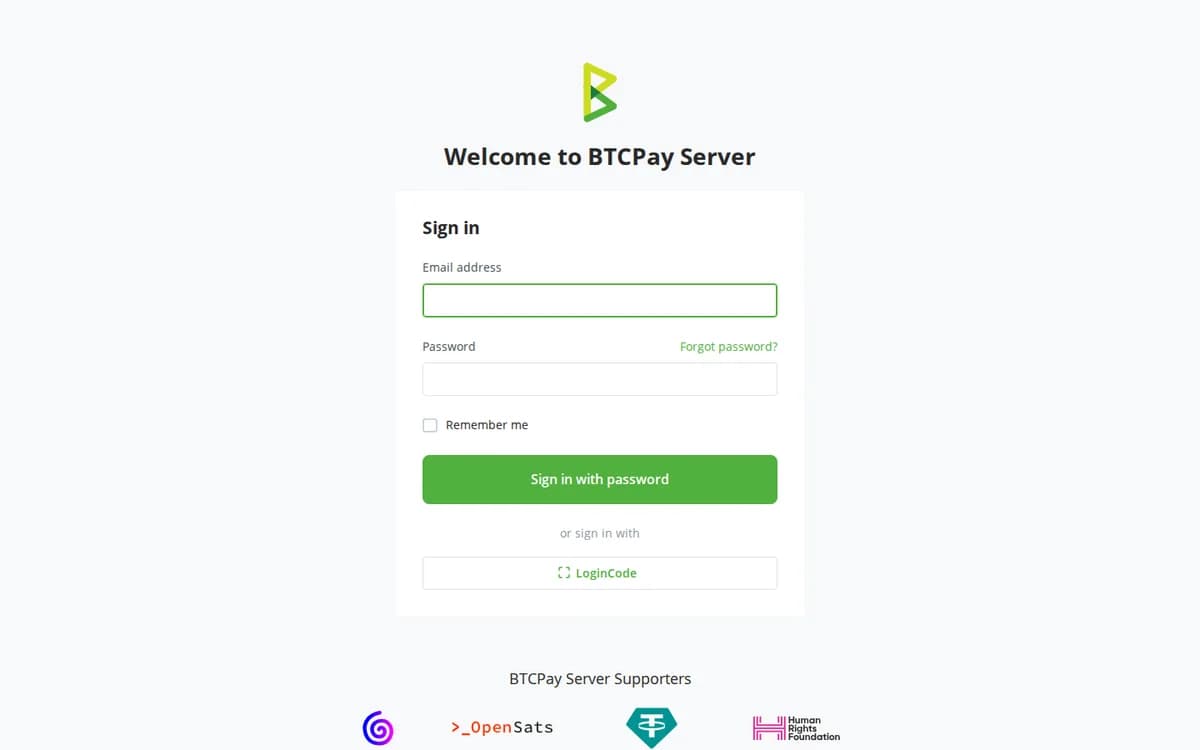
Sign in as server admin
Open BTCPay and sign in with the prepared email and password. The first admin is created for you on first boot.
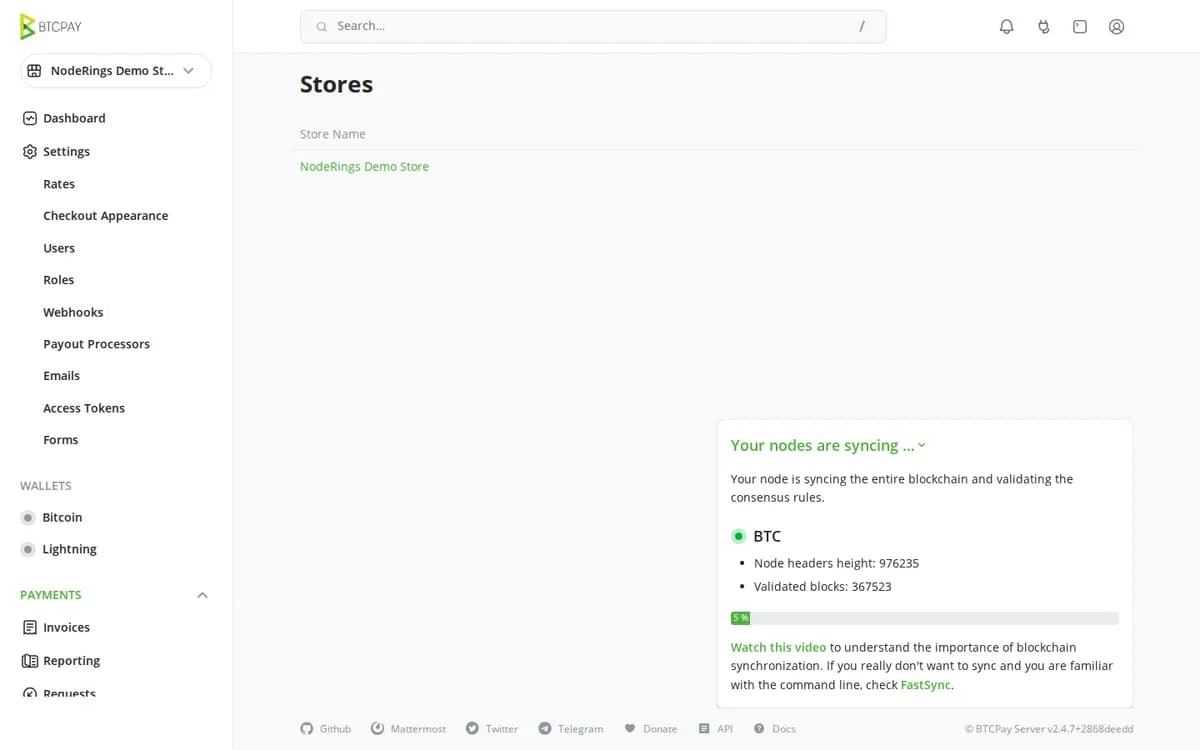
Stores and invoices
Create stores and issue invoices once your Bitcoin node is ready. Keep settlement on hardware you control.
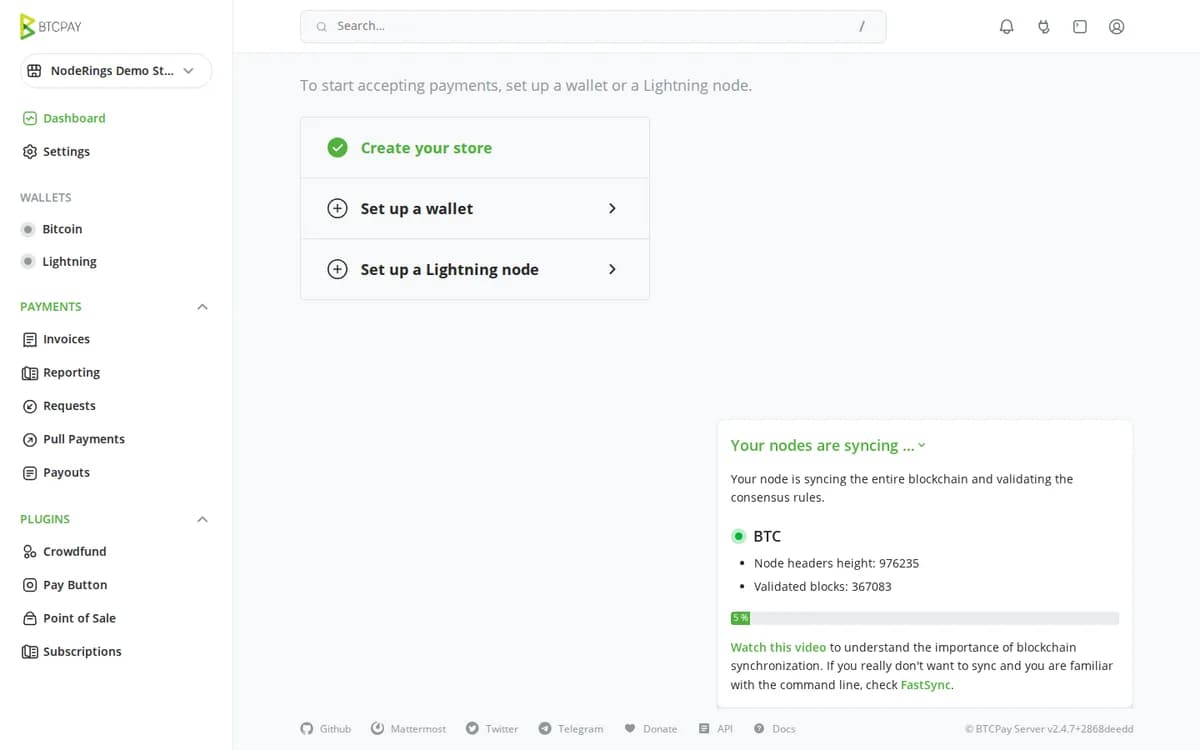
Server dashboard
Watch sync status and server health from the admin UI while the pruned node catches up.
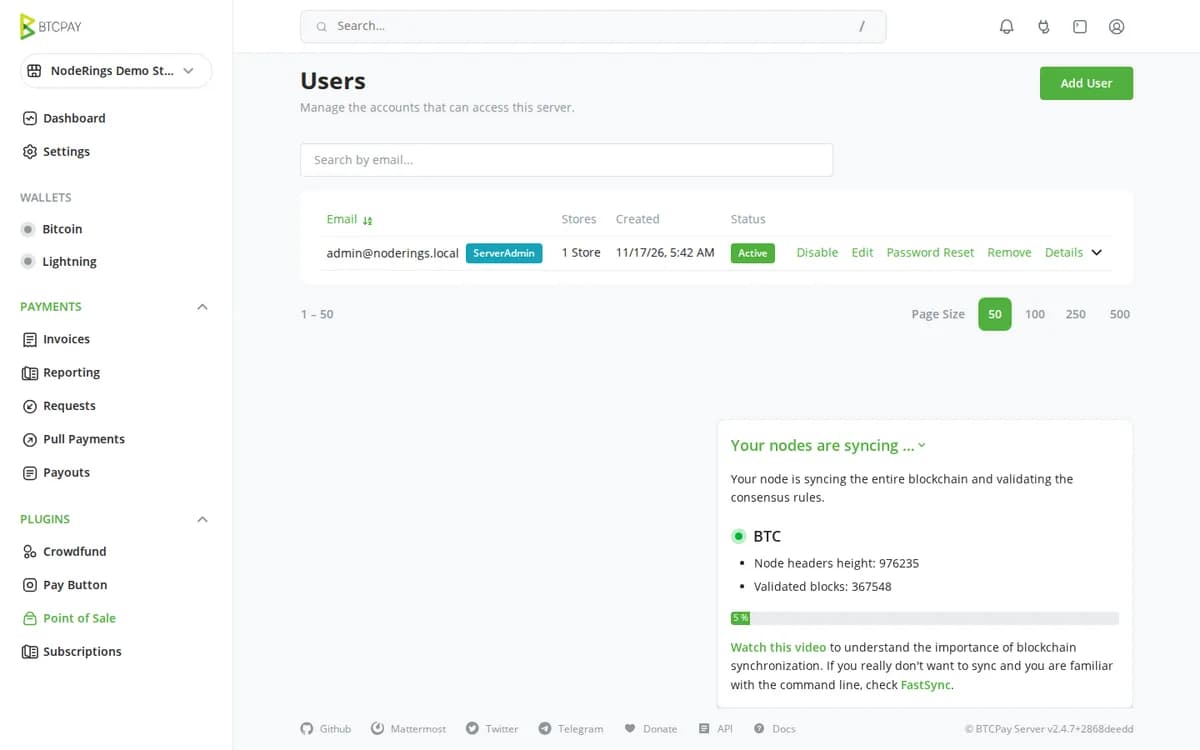
Server settings
Adjust policies, users and maintenance from Server Settings after you sign in.
Why use the NodeRings marketplace?
Compare live BTCPay Server VPS plans from independent providers, then self-host Bitcoin payments on the offer you pick. Use it instead of paying Stripe or PayPal crypto fees.
Compare BTCPay VPS offers in one place
See live prices, regions and plan sizes before you buy. Shop self-hosted Bitcoin payment hosts across independent providers, starting from a 4 GB / 80 GB floor.
Self-host BTCPay without a manual install
Pick a plan and BTCPay Server is prepared on that VPS for you, including the first admin account. You still get root access.
Put payments nearer your customers
Compatible offers list cities and countries. Run your node from a region that matches latency and policy needs.
Admin before the stores
BTCPay Instant App creates the first server admin for you. Sign in before anyone else can register as owner on your IP.
BTCPay hosting as a marketplace, not a single hoster
Most BTCPay VPS pages sell one company's servers. NodeRings lists Compute Instance plans from independent providers so you can compare self-hosted Bitcoin payment offers by price, size and region, then launch on the one that fits.
BTCPay Server Instant App prepares BTCPay on the provider VPS you selected. NodeRings does not operate that hardware or sell its own VPS fleet.
Single-provider BTCPay hosting
- One company catalogue and renewal pricing
- One set of regions and support paths
- One vendor panel for that host only
NodeRings marketplace
- BTCPay VPS offers from independent providers
- Compare resources, prices and regions side by side
- Deploy BTCPay Server on the plan you pick
How it works
Compare plans, pick a provider offer, and launch BTCPay Server on that server.
01
Compare BTCPay VPS plans
Browse live offers below. A 4 GB RAM / 80 GB disk plan matches the pruned Bitcoin starting point. Sort by provider, size, price and region.
02
Pick the offer that fits
Choose the provider plan and region. There are no Instant App form fields to fill for BTCPay Server.
03
Deploy and sign in
Confirm checkout and wait for the server. Then open the site URL and sign in with the admin email and password from your server notes. Bitcoin sync keeps running in the background. You keep root SSH.
On the VPS after BTCPay deploys
NodeRings Instant App runs the official BTCPay Docker installer and prepares first-boot access for you. Use the sections below to reach the UI, find passwords, and operate the stack.
Open the web UI
- In a browser, go to http://YOUR_SERVER_IP/ using the IPv4 from your order.
- Sign in with btcpay_admin_email and btcpay_admin_password from the credentials file.
- Bitcoin mainnet sync continues after login. Wait for the node before relying on live payments.
Where the password is
Credentials are written on first boot to:
/root/.noderings_passwordRead them over SSH:
cat /root/.noderings_password- Keys in that file include btcpay_admin_email, btcpay_admin_password and site_url.
- SSH in as root with the create-flow password or key, then run the command above.
- Change the BTCPay account password after you first sign in.
Where files live
BTCPay base directory
/opt/noderings/btcpay-server
/opt/noderings/btcpay-server/btcpayserver-docker
Official docker installer checkout and generated compose live here.
Credentials file
/root/.noderings_passwordWritten once on first boot.
Boot script
/var/lib/cloud/scripts/per-instance/01-noderings-btcpay-server.shFirst-boot installer and admin registration.
What runs in Docker
The official BTCPay generator starts nginx, BTCPay Server, NBXplorer, Postgres, and a pruned bitcoind. The UI is on HTTP port 80.
generated BTCPay stackBTCPay Server UI on :80 plus pruned Bitcoin and supporting services.
Container status
cd /opt/noderings/btcpay-server/btcpayserver-docker && docker compose psLive logs
cd /opt/noderings/btcpay-server/btcpayserver-docker && docker compose logs -fRestart stack
btcpay-restart.shInstaller log
tail -n 100 /tmp/btcpay-admin.logAdd HTTPS with Cloudflare
Your BTCPay app starts on http:// with the server IP. Cloudflare can give visitors a padlock while you prepare a real domain for BTCPay.
Add your domain
Sign up at Cloudflare and add the domain you want to use for BTCPay.
Point it at your VPS
Create an A record to your server IP and leave the orange cloud on.
Update BTCPay host
In BTCPay Server Settings → Maintenance, change the domain to your hostname, or re-run the official setup with BTCPAY_HOST and HTTPS after you understand the docs.
Only allow Cloudflare
Optional. With SSH (port 22) already allowed and everything else blocked by default, open only Cloudflare to ports 80 and 443:
curl -s https://www.cloudflare.com/ips-v4 | while read ip; do sudo ufw allow from "$ip" to any port 80,443 proto tcp; done
Keep port 22 allowed for SSH. Bitcoin P2P uses 8333 if you want inbound peers; outbound sync works without opening it inbound.
More detail
- NodeRings does not sell BTCPay Server as a product and is not the BTCPay project.
BTCPay Server VPS requirements and sizing
BTCPay with a pruned Bitcoin node needs more disk and RAM than a typical web app. The starting floor follows BTCPay’s own pruned profile. Initial chain download uses substantial bandwidth and can take a long time.
| Workload | Illustrative starting point | Note |
|---|---|---|
| Pruned Bitcoin, no Lightning | 2 vCPU / 4 GB RAM / 80+ GB SSD | Suggested Instant App floor (opt-save-storage-xs style). |
| Faster first sync | 4 vCPU / 8 GB RAM / 100+ GB SSD | More CPU shortens IBD; disk still matters for chainstate and prune room. |
| Lightning later | Larger prune retention + more RAM | Lightning needs a less aggressive prune profile. Plan disk before enabling LN. |
| Production HTTPS | Same size; add a domain | Instant App starts on HTTP with the server IP. Point a domain and enable TLS when you go live. |
These are starting points, not guarantees. Needs depend on prune settings, add-ons and how far sync has progressed.
Root access and who does what
This is self-hosted BTCPay on a provider VPS, not a managed Stripe account. You pick the plan. BTCPay is prepared on that server. Day-to-day care stays with you.
What you get ready
BTCPay Server is prepared with the official Docker installer, a pruned Bitcoin node profile, and a first admin account. No Instant App form variables.
What you keep
Root SSH on the VPS. You own stores, users, DNS, TLS, OS updates, backups and node sync unless a provider product says otherwise.
What is not included
Managed Lightning, automatic production TLS on a custom domain, and custodial payout rails are not bundled in. Finish domain HTTPS after the server is up if you need it.
Support boundaries
NodeRings helps with marketplace, billing and console. Provider hardware issues go to that provider. Looking after BTCPay and the Bitcoin node on the server is yours.
BTCPay Server VPS FAQs
What is BTCPay Server?
BTCPay Server is free, open-source, self-hosted Bitcoin payment processing. Merchants use it for invoices, stores and point-of-sale without giving a processor custody of funds.
Do I need to fill Instant App variables for BTCPay?
No. BTCPay Instant App asks for no form variables at create time. After the VPS is ready, sign in with the admin email and password from your server notes.
Does NodeRings run the BTCPay server?
No. NodeRings is a marketplace. Independent providers list VPS plans. You pick a plan, BTCPay is prepared on that provider server, and you manage payments from there.
Is this managed BTCPay hosting?
No. You get a virtual machine with BTCPay prepared for you, plus root access. That is different from a managed product that owns updates and support for you.
How do I sign in after deploy?
Open http://YOUR_IP/ and sign in with btcpay_admin_email and btcpay_admin_password from /root/.noderings_password.
When can I accept payments?
After the Bitcoin node finishes enough of the chain sync for your wallet and invoices. The admin UI is available earlier so you can create stores while sync runs.
What size BTCPay VPS do I need?
A common starting point is about 2 vCPU, 4 GB RAM and 80 GB SSD for pruned Bitcoin without Lightning. Use the sizing guide above and compare plans in the list.
Does the Instant App use HTTPS on day one?
It starts on HTTP using the server IP so first login works without a domain. For production, add a domain and TLS (for example Cloudflare) and update BTCPay’s host settings.
What happens after I click Deploy BTCPay Server?
You confirm the plan and finish checkout. When the server is ready, open the site URL and sign in with the admin credentials from your server notes.
Can I choose the server region?
Yes. Each compatible plan lists available regions. Pick the city or country that matches latency and compliance needs.