
Vaultwarden Instant App
Self-hosted Vaultwarden VPS hosting
Vaultwarden is an open-source Bitwarden-compatible password manager you run on your own VPS. Compare live VPS prices, CPU, RAM, disk and regions, launch with an admin token and HTTPS front end on the plan you choose, and keep root access.

Vaultwarden
Instant App on marketplace VPS
Live marketplace offers
Compare Vaultwarden VPS plans
Choose billing and size, compare providers side by side, pick a location, then launch.
Inside Vaultwarden
Vaultwarden is a self-hosted Bitwarden-compatible server. Use it instead of paying for Bitwarden or 1Password. Create your vault account after boot, lock signups from /admin, and point Bitwarden clients at your server URL. No Instant App form fields are required at create time.
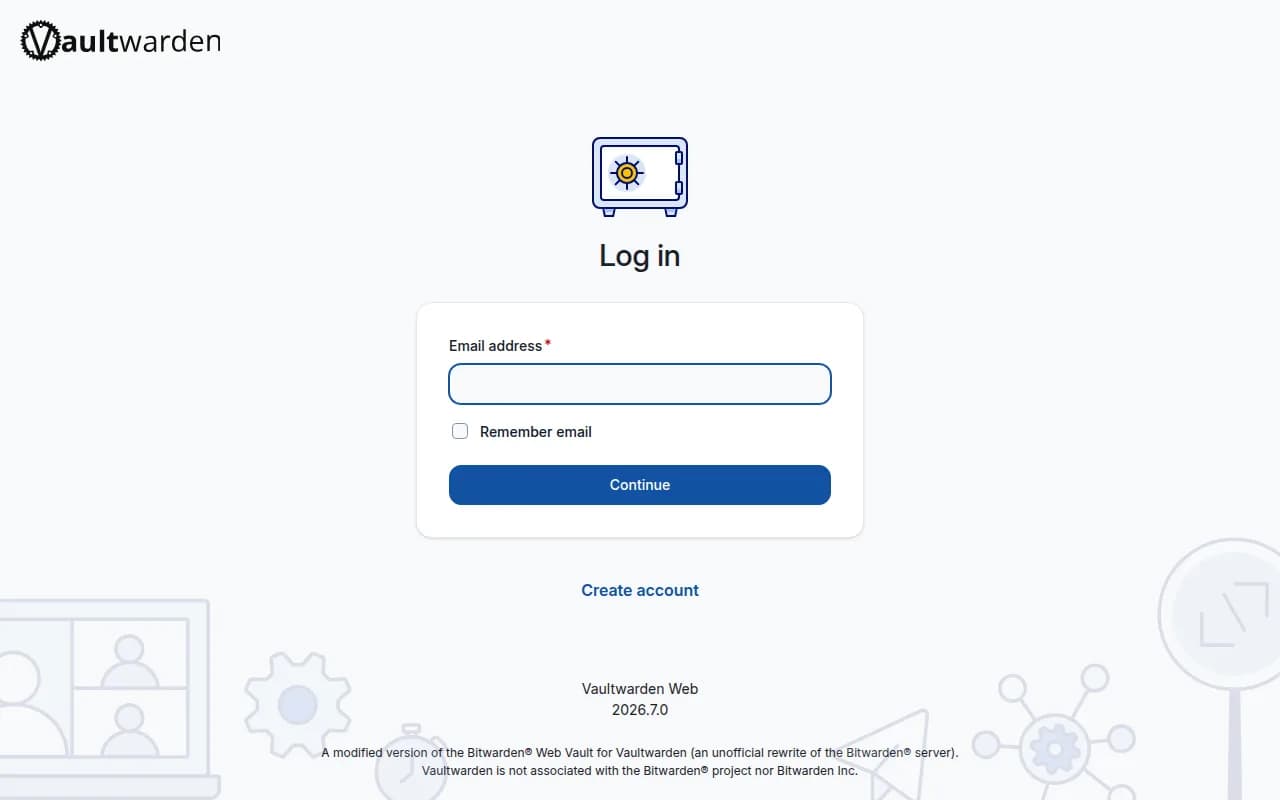
Vault login
Open the web vault over HTTPS and sign in or create your first account.
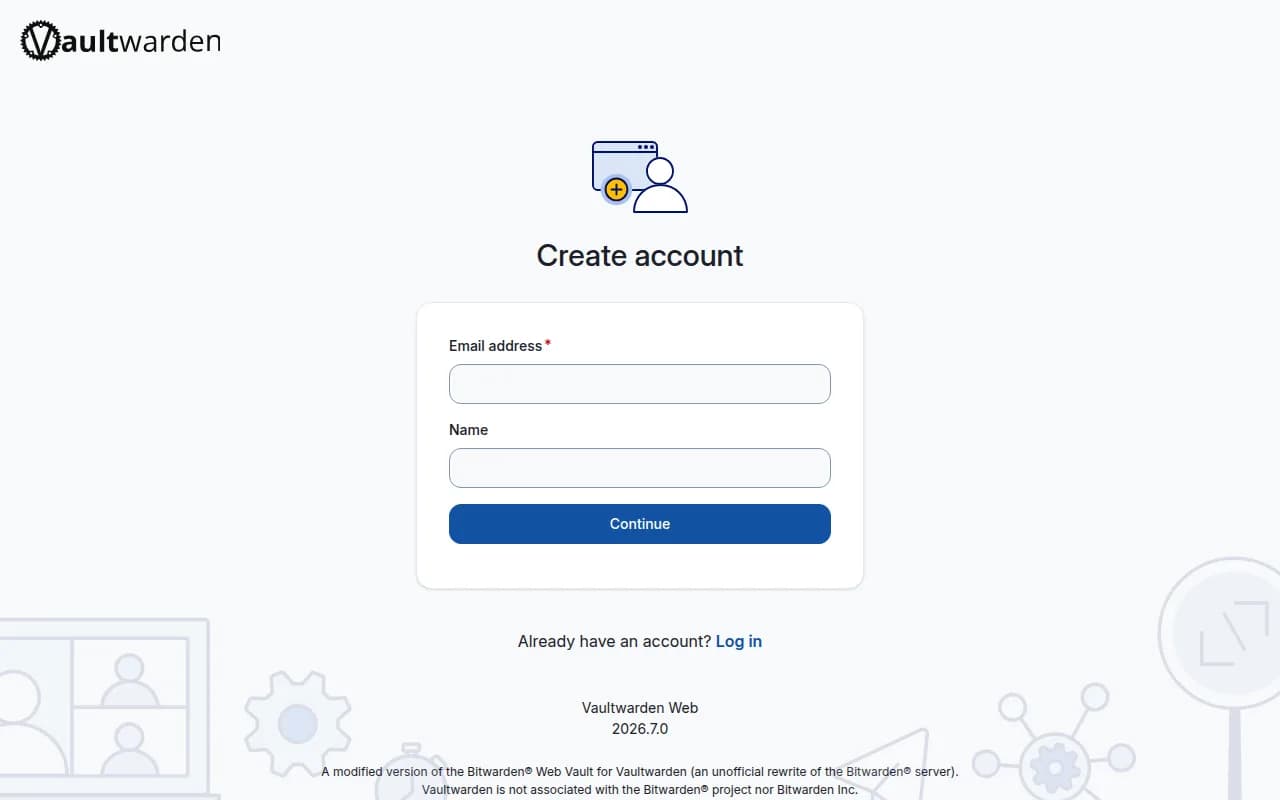
Create account
Register the first vault user while signups are still allowed.
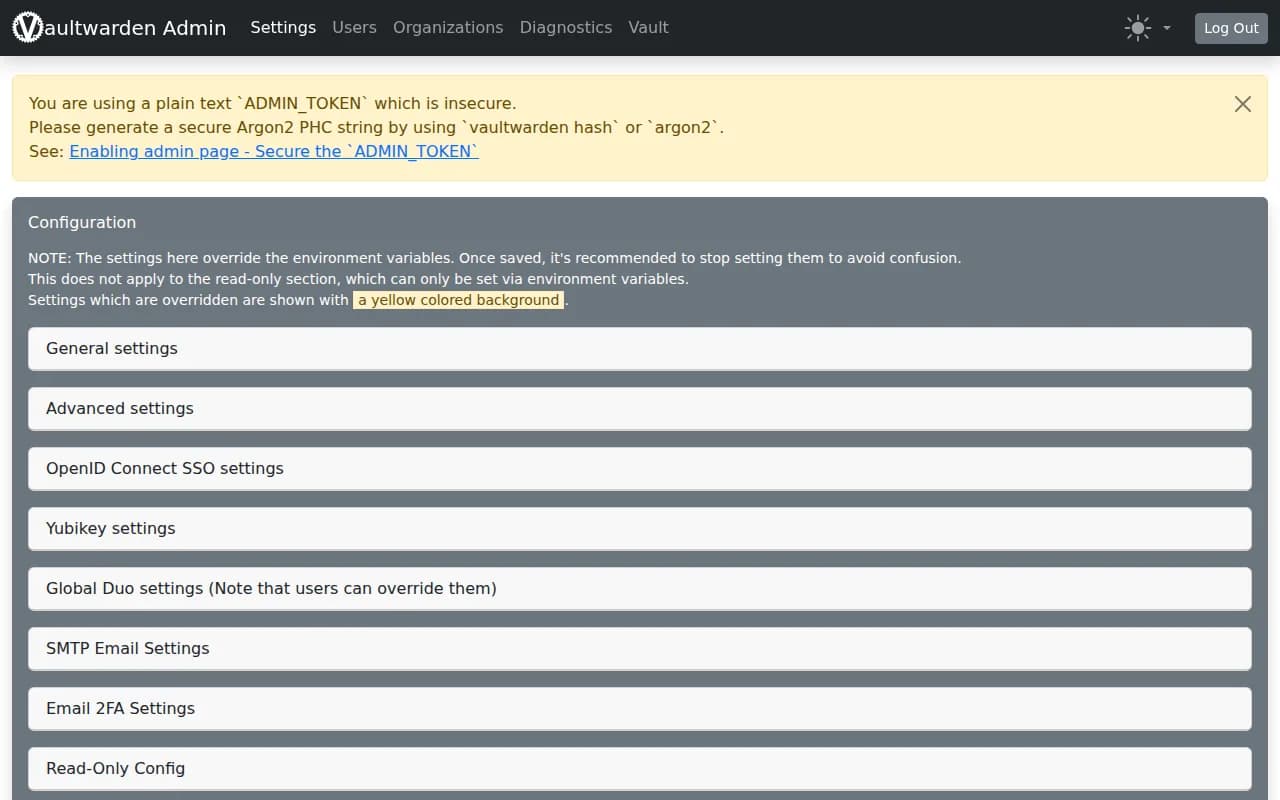
Admin panel
Use /admin with the prepared token to manage users and close signups.
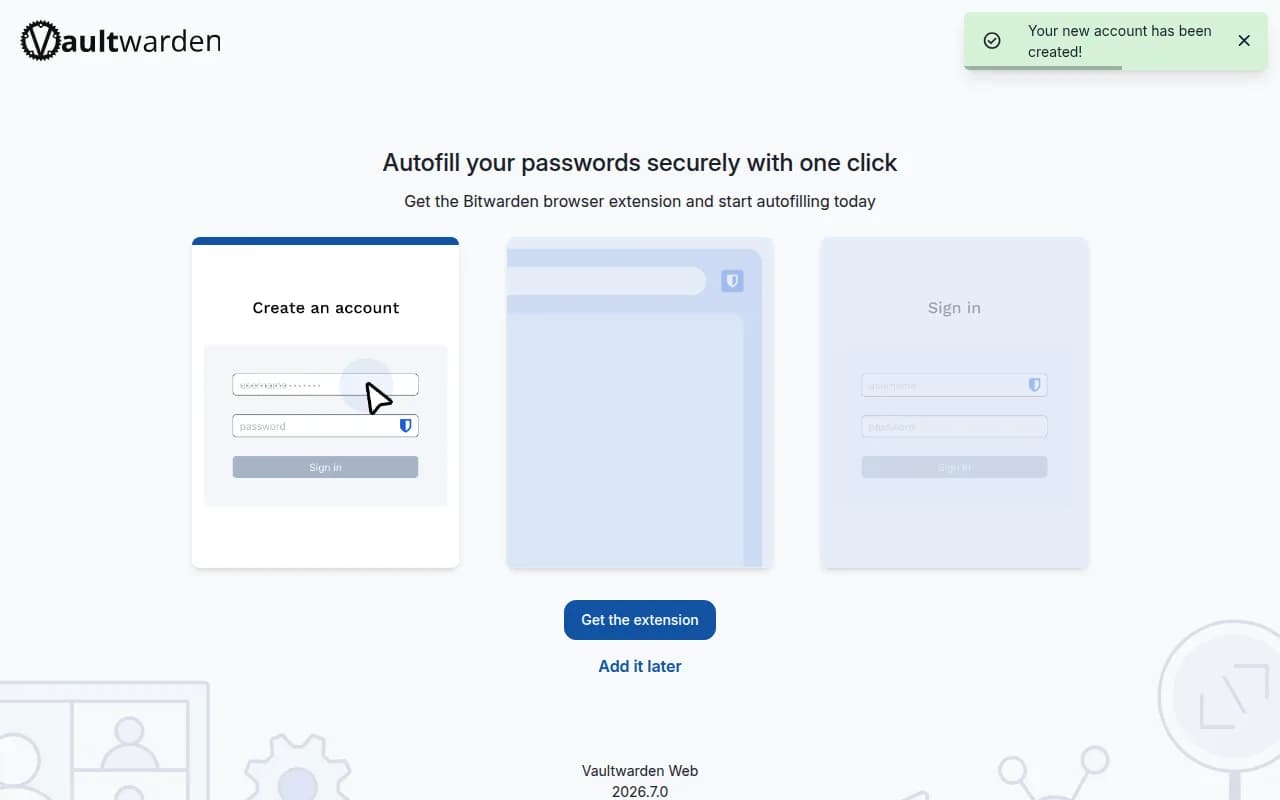
Account ready
After signup, connect Bitwarden clients or continue in the web vault.
Why use the NodeRings marketplace?
Compare live Vaultwarden VPS plans from independent providers, then self-host a Bitwarden-compatible vault on the offer you pick. Use it instead of paying for Bitwarden or 1Password.
Compare Vaultwarden VPS offers in one place
See live prices, regions and plan sizes before you buy. Shop password-manager hosts across independent providers, including 1 GB boxes that fit Vaultwarden.
Self-host Vaultwarden without a manual install
Pick a plan and Vaultwarden is prepared on that VPS for you, including an admin token and HTTPS via nginx. You still get root access.
Put the vault near your devices
Compatible offers list cities and countries. Keep sync traffic close to the phones and laptops that open the vault.
Login before the vault
Vault accounts and the /admin token keep strangers out of your ciphers. Turn off public signups after you create your first account.
Vaultwarden hosting as a marketplace, not a single hoster
Most Vaultwarden or Bitwarden VPS pages sell one company's servers. NodeRings lists Compute Instance plans from independent providers so you can compare self-hosted password manager offers by price, size and region, then launch on the one that fits.
Vaultwarden Instant App prepares Vaultwarden on the provider VPS you selected. NodeRings does not operate that hardware or sell its own VPS fleet.
Single-provider Vaultwarden hosting
- One company catalogue and renewal pricing
- One set of regions and support paths
- One vendor panel for that host only
NodeRings marketplace
- Vaultwarden VPS offers from independent providers
- Compare resources, prices and regions side by side
- Deploy Vaultwarden on the plan you pick
How it works
Compare plans, pick a provider offer, and launch Vaultwarden on that server.
01
Compare Vaultwarden VPS plans
Browse live offers below. A 1 GB plan is a solid start for Vaultwarden. Sort by provider, size, price and region.
02
Pick the offer that fits
Choose the provider plan and region. There are no Instant App form fields to fill for Vaultwarden.
03
Deploy, create account, lock signups
Confirm checkout and wait for the server. Open the HTTPS site URL, create your vault account, then sign in to /admin with the admin token and turn signups off. You keep root SSH.
On the VPS after Vaultwarden deploys
NodeRings Instant App brings Vaultwarden up behind nginx HTTPS, writes an admin token, and leaves signups open so you can create the first vault account. Use the sections below to reach the UI, find secrets, and operate the stack.
Open the web UI
- In a browser, go to https://YOUR_SERVER_IP/ and accept the temporary certificate warning.
- Create your first vault account, then open https://YOUR_SERVER_IP/admin and sign in with vaultwarden_admin_token.
- In /admin, set Signups allowed to false.
Where the password is
Credentials are written on first boot to:
/root/.noderings_passwordRead them over SSH:
cat /root/.noderings_password- Keys in that file include vaultwarden_admin_token, site_url and admin_url.
- SSH in as root with the create-flow password or key, then run the command above.
- The vault master password is chosen by you at account create time and never stored in that file.
Where files live
Compose project directory
/opt/noderings/vaultwarden
/opt/noderings/vaultwarden/docker-compose.yml
/opt/noderings/vaultwarden/.env
/opt/noderings/vaultwarden/nginx.conf
/opt/noderings/vaultwarden/data
Working directory for compose, secrets, nginx TLS and SQLite data.
Credentials file
/root/.noderings_passwordWritten once on first boot.
Boot unit
/etc/systemd/system/noderings-vaultwarden.serviceBrings compose up after Docker is ready.
What runs in Docker
Compose runs Vaultwarden and nginx. HTTPS is on port 443; HTTP redirects to HTTPS.
vaultwardenVaultwarden application on container port 80.
proxynginx TLS termination and reverse proxy on host ports 80 and 443.
Container status
cd /opt/noderings/vaultwarden && docker compose psLive logs
cd /opt/noderings/vaultwarden && docker compose logs -fRestart containers
cd /opt/noderings/vaultwarden && docker compose restartsystemd unit status
systemctl status noderings-vaultwardenAdd a public certificate with Cloudflare
Your vault already speaks HTTPS with a temporary certificate. Cloudflare can give visitors a public padlock on your own domain.
Add your domain
Sign up at Cloudflare and add the domain you want to use.
Point it at your VPS
Create an A record to your server IP and leave the orange cloud on.
Update DOMAIN
Set DOMAIN=https://your-domain in /opt/noderings/vaultwarden/.env, recreate the vaultwarden container, and open https://your-domain.
Only allow Cloudflare
Optional. With SSH (port 22) already allowed and everything else blocked by default, open only Cloudflare to ports 80 and 443:
curl -s https://www.cloudflare.com/ips-v4 | while read ip; do sudo ufw allow from "$ip" to any port 80,443 proto tcp; done
Keep port 22 allowed for SSH. After Cloudflare is in place, prefer Full (strict) SSL once you have a real origin cert, or keep the temporary origin cert behind Cloudflare Flexible/Full carefully.
More detail
- NodeRings does not sell Vaultwarden as a product and is not the Vaultwarden project.
Vaultwarden VPS requirements and sizing
Vaultwarden is a light password-manager server. These are starting points, not guarantees.
| Workload | Illustrative starting point | Note |
|---|---|---|
| Personal or household vault | 1 vCPU / 1 GB RAM / 20+ GB disk | Suggested Instant App floor for Vaultwarden with nginx TLS. |
| Small team / org | 1–2 vCPU / 1–2 GB RAM | More headroom when several devices sync often. |
| Attachments and backups | Disk sized to vault data | SQLite and attachments live under the data volume. |
| Public internet exposure | Same size; real TLS preferred | Instant App ships a temporary TLS cert. Put a real certificate or Cloudflare in front for production. |
These are starting points, not guarantees. Needs depend on user count, attachments and how you expose HTTPS.
Root access and who does what
This is self-hosted Vaultwarden on a provider VPS, not Bitwarden cloud. You pick the plan. Vaultwarden is prepared on that server. Day-to-day care stays with you.
What you get ready
Vaultwarden is prepared on the VPS with no Instant App form variables. An admin token is generated, HTTPS is terminated by nginx with a temporary certificate, and signups start enabled so you can create the first vault account.
What you keep
Root SSH on the VPS. You own vault accounts, DNS, real TLS, OS updates and backups unless a provider product says otherwise.
What is not included
Managed Bitwarden support, automatic public CA certificates and hosted email/SMTP are not bundled in. Configure SMTP and close signups after first account.
Support boundaries
NodeRings helps with marketplace, billing and console. Provider hardware issues go to that provider. Looking after Vaultwarden on the server is yours.
Vaultwarden VPS FAQs
What is Vaultwarden?
Vaultwarden is an open-source Bitwarden-compatible password manager server you host yourself.
Do I need to fill Instant App variables for Vaultwarden?
No. Vaultwarden Instant App asks for no form variables at create time. After the VPS is ready, create your vault account in the browser and use the admin token from your server notes for /admin.
Does NodeRings run the Vaultwarden server?
No. NodeRings is a marketplace. Independent providers list VPS plans. You pick a plan, Vaultwarden is prepared on that provider server, and you manage the vault from there.
Is this managed Bitwarden hosting?
No. You get a virtual machine with Vaultwarden prepared for you, plus root access. That is different from Bitwarden cloud or 1Password.
How do I sign in after deploy?
Open https://YOUR_IP/ (accept the temporary certificate warning), create or sign in to your vault account. For /admin, use vaultwarden_admin_token from /root/.noderings_password.
Why HTTPS on first boot?
The web vault needs a secure context for browser crypto. Instant App puts nginx in front with a temporary certificate so the vault works on the VPS IP before you add a real domain cert.
Should I leave signups open?
No. Create your first account, then open /admin and set Signups allowed to false so strangers cannot register.
What size Vaultwarden VPS do I need?
A common starting point is about 1 vCPU, 1 GB RAM and 20 GB disk. Use the sizing guide above and compare plans in the list.
Is Vaultwarden safe on the public internet?
Vault login and the admin token help, but use a real TLS certificate or Cloudflare for public exposure. See the warning on this page.
What happens after I click Deploy Vaultwarden?
You confirm the plan and finish checkout. When the server is ready, open the HTTPS site URL, create your vault account, then lock signups from /admin.
Can I choose the server region?
Yes. Each compatible plan lists available regions. Pick the city or country that matches latency and compliance needs.