
Jitsi Meet Instant App
Self-hosted Jitsi Meet VPS hosting
Jitsi Meet is open-source video conferencing for browser-based meetings and rooms. Compare live VPS prices, CPU, RAM, disk and regions, launch with host login required, and keep root access so calls stay on your server.

Jitsi Meet
Instant App on marketplace VPS
Live marketplace offers
Compare Jitsi Meet VPS plans
Choose billing and size, compare providers side by side, pick a location, then launch.
Inside Jitsi Meet
Jitsi Meet is self-hosted video conferencing in the browser. Use it instead of paying for Zoom or Google Meet. Sign in as host after boot, create a room, and keep media on your VPS. No Instant App form fields are required at create time.
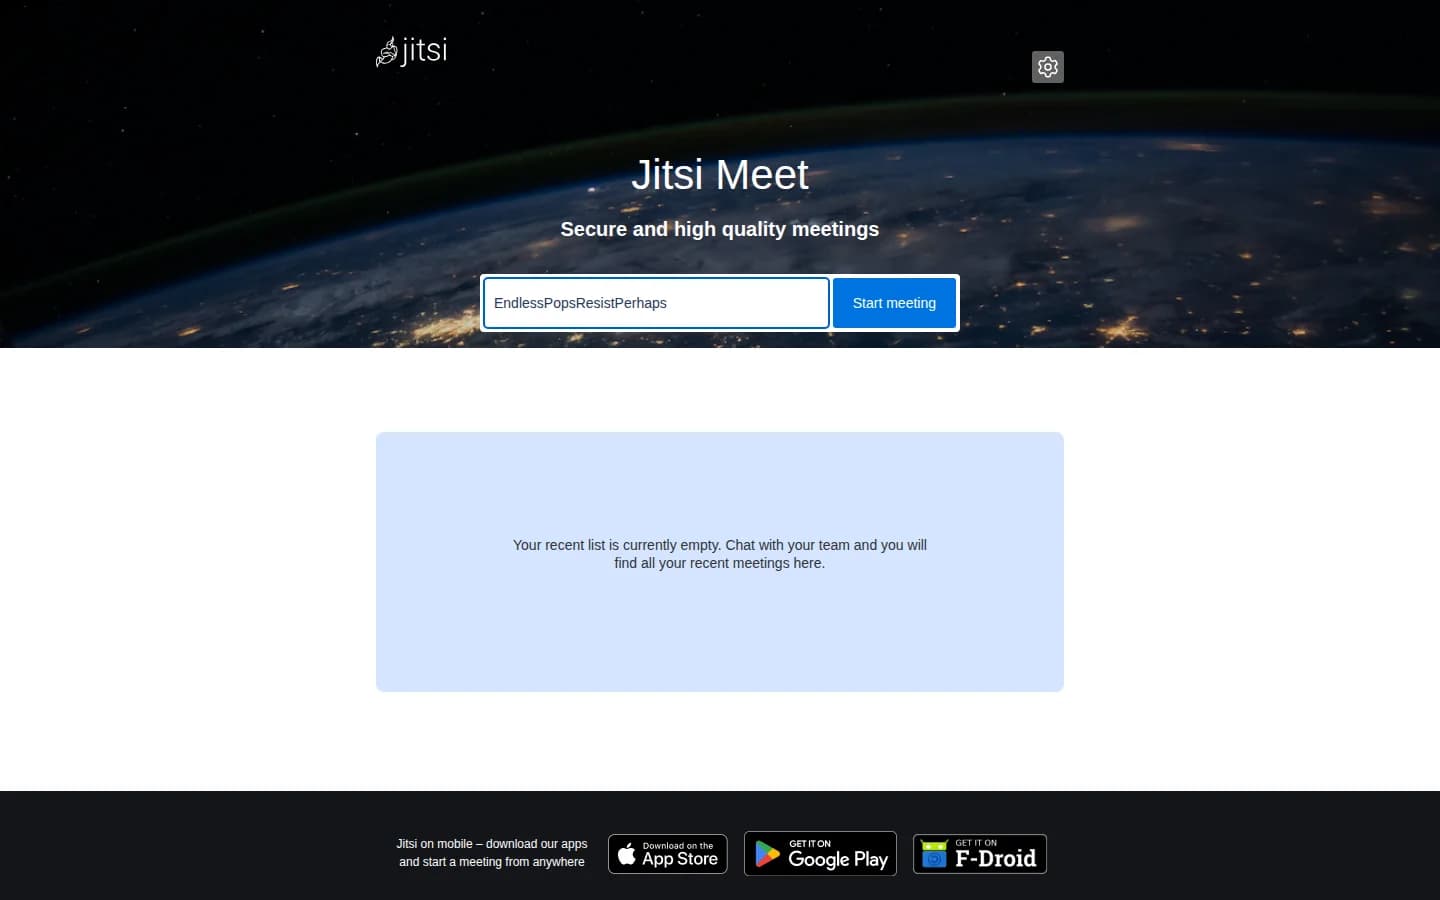
Welcome page
Open the Jitsi Meet home page and start a meeting after you authenticate as host.
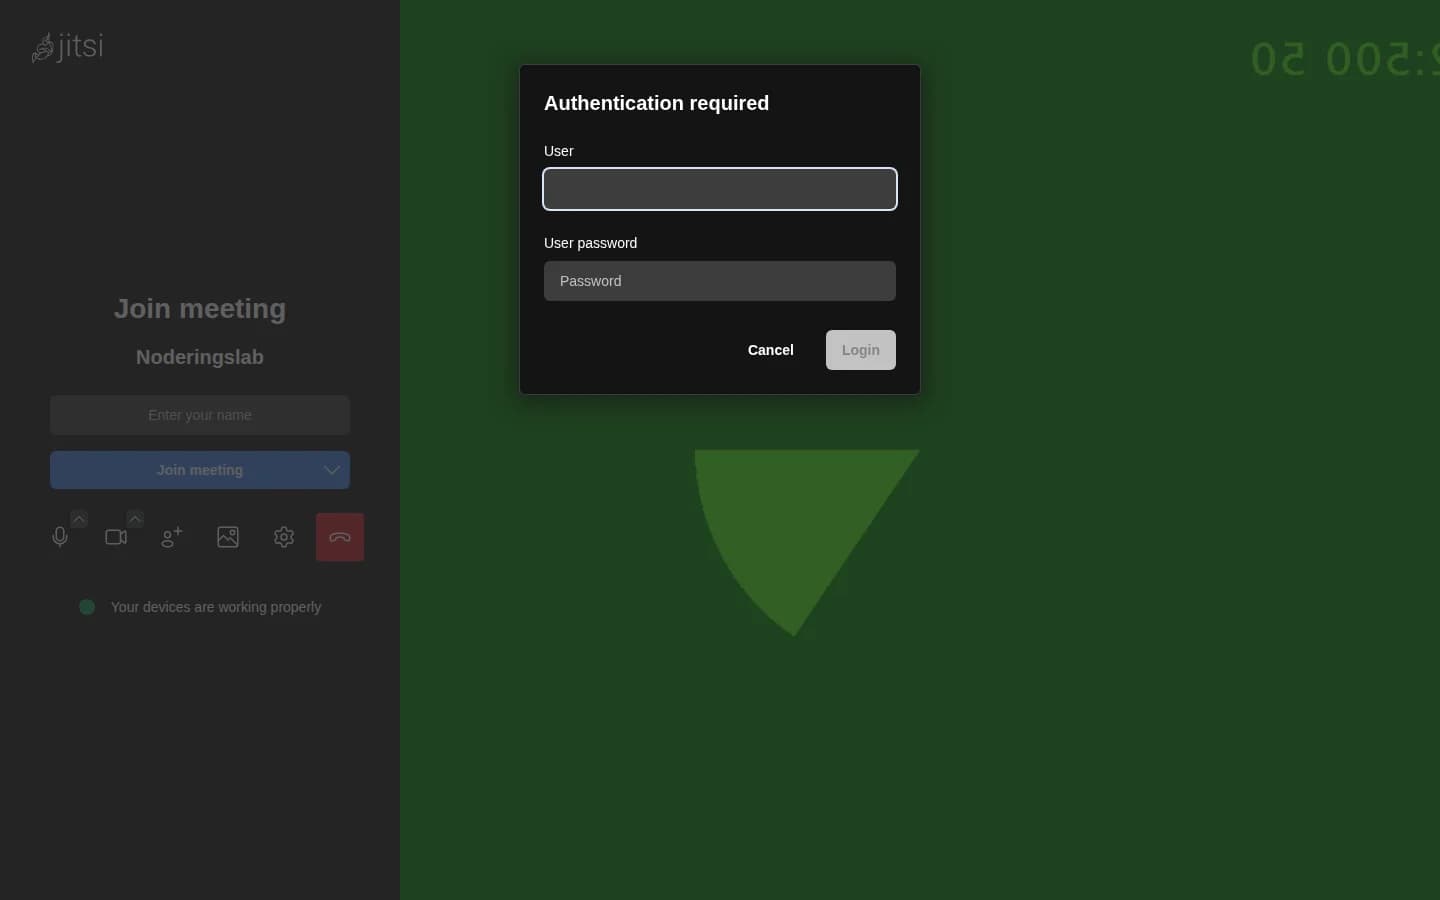
Host login
Prosody internal authentication requires the prepared host username and password before rooms open.
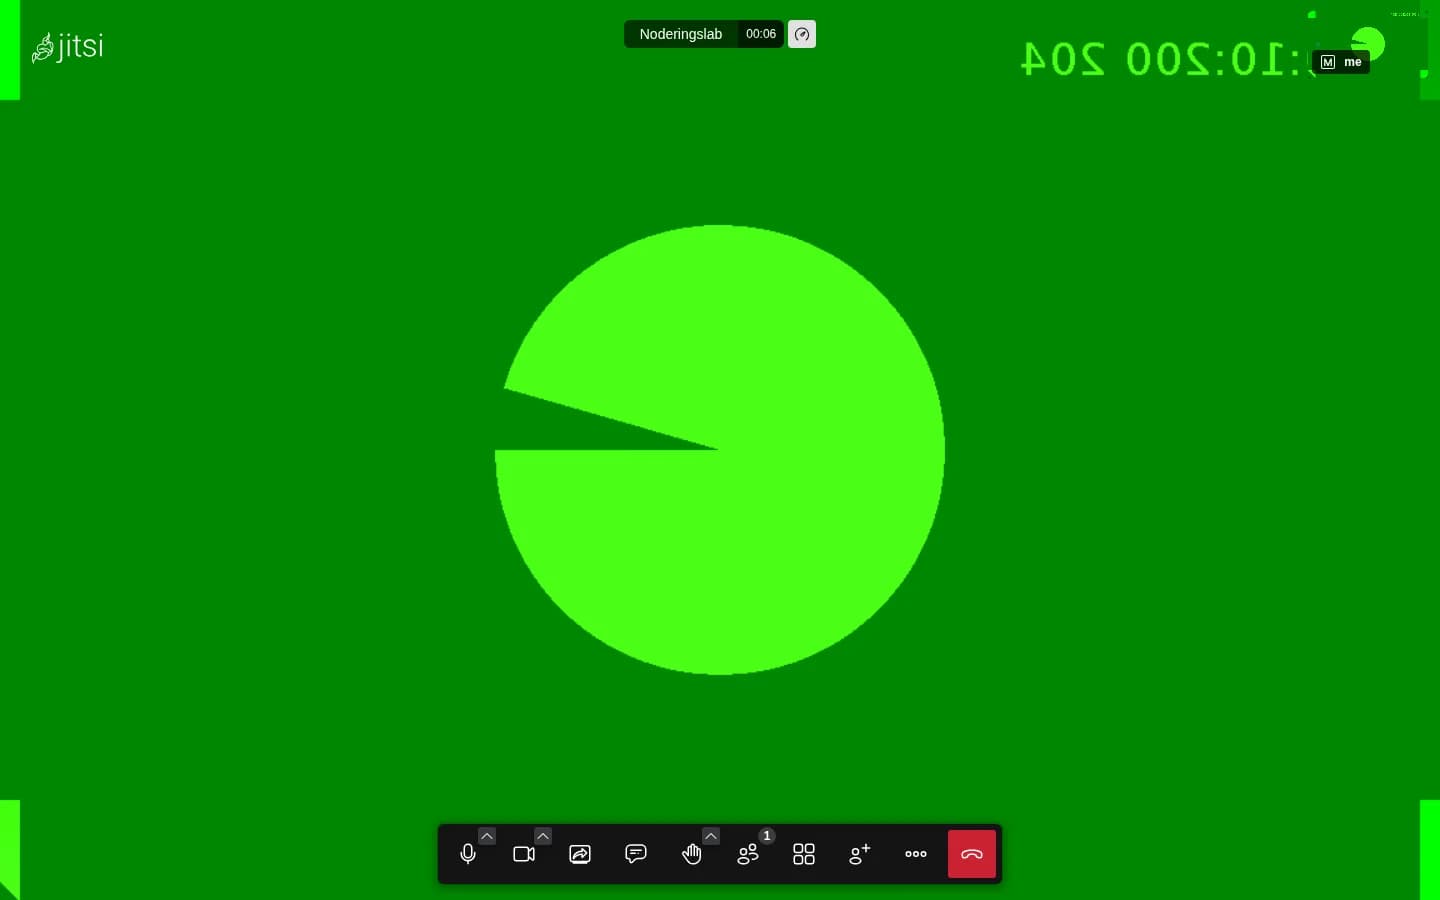
In-meeting controls
Mute, share screen and manage participants from the browser meeting UI.
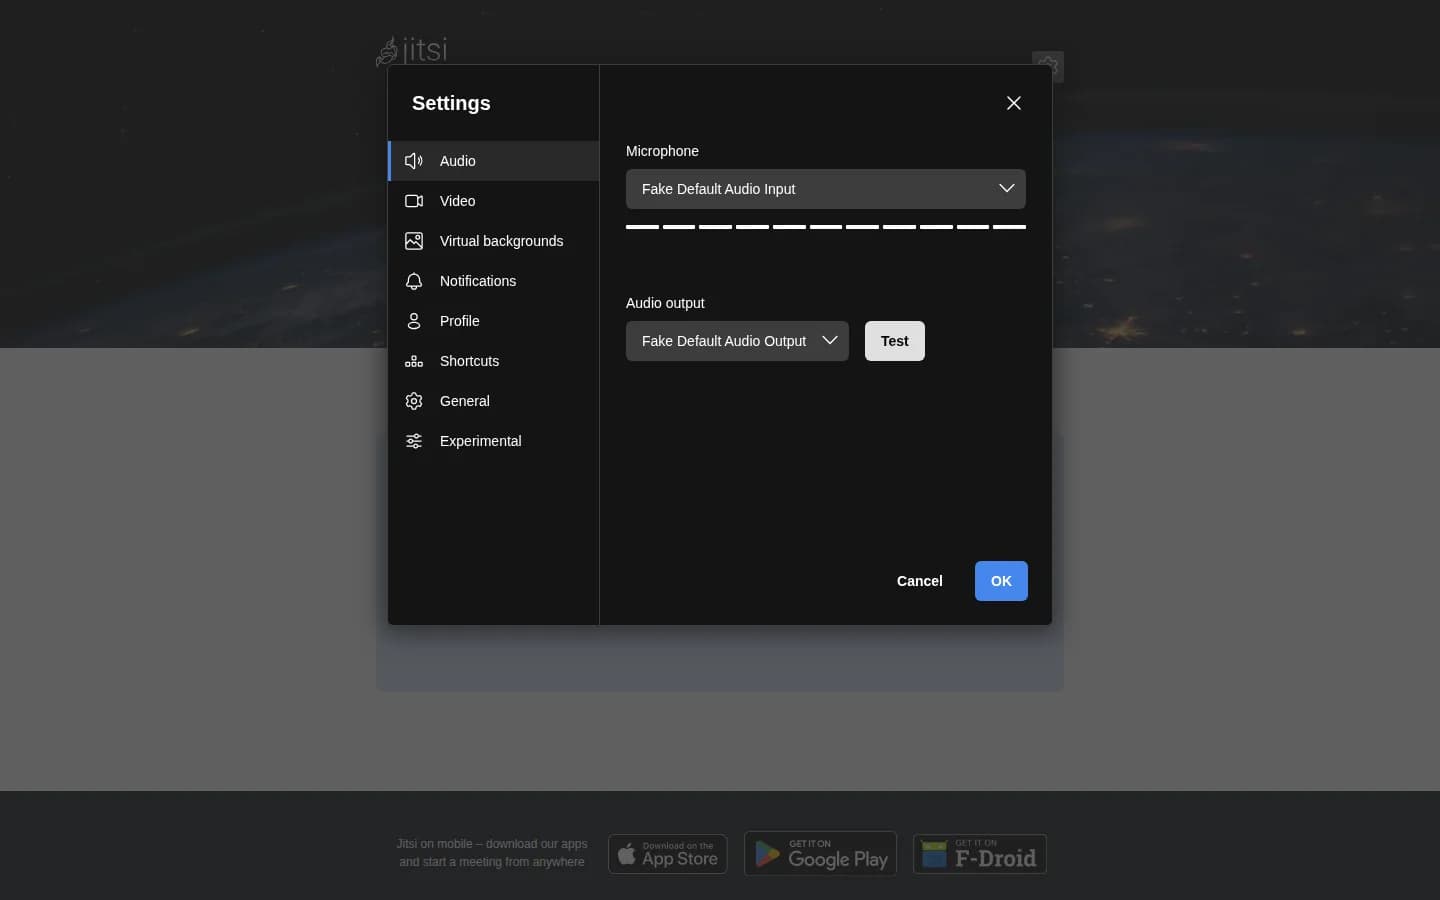
Settings
Adjust device and meeting preferences from the in-call settings panel.
Why use the NodeRings marketplace?
Compare live Jitsi Meet VPS plans from independent providers, then self-host video meetings on the offer you pick. Use it instead of paying for Zoom or Google Meet.
Compare Jitsi Meet VPS offers in one place
See live prices, regions and plan sizes before you buy. Shop self-hosted meeting hosts across independent providers, starting around 4 GB RAM.
Self-host Jitsi Meet without a manual install
Pick a plan and Jitsi Meet is prepared on that VPS for you, including Prosody host login. You still get root access.
Put meetings in a region you choose
Compatible offers list cities and countries. Keep latency low for the people who join your rooms.
Host login before rooms
Jitsi Meet Instant App enables Prosody authentication and disables guests. Strangers cannot create or join meetings without credentials.
Jitsi Meet hosting as a marketplace, not a single hoster
Most Jitsi or self-hosted video VPS pages sell one company's servers. NodeRings lists Compute Instance plans from independent providers so you can compare offers by price, size and region, then launch on the one that fits.
Jitsi Meet Instant App prepares Jitsi Meet on the provider VPS you selected. NodeRings does not operate that hardware or sell its own VPS fleet.
Single-provider Jitsi Meet hosting
- One company catalogue and renewal pricing
- One set of regions and support paths
- One vendor panel for that host only
NodeRings marketplace
- Jitsi Meet VPS offers from independent providers
- Compare resources, prices and regions side by side
- Deploy Jitsi Meet on the plan you pick
How it works
Compare plans, pick a provider offer, and launch Jitsi Meet on that server.
01
Compare Jitsi Meet VPS plans
Browse live offers below. Plan for about 2 vCPU, 4 GB RAM and 40 GB disk as a starting point. Sort by provider, size, price and region.
02
Deploy Jitsi Meet on the plan you pick
Finish checkout on that provider offer. Jitsi Meet and the host account are prepared on the VPS for you.
03
Sign in and start a room
Open the site URL, authenticate with jitsi_admin_user and jitsi_admin_password from your server notes, then create a meeting.
On the VPS after Jitsi Meet deploys
NodeRings Instant App brings Jitsi Meet up with Docker Compose and registers the Prosody host user. Use the sections below to reach the UI, find passwords, and operate the stack.
Open the web UI
- In a browser, go to http://YOUR_SERVER_IP/ using the IPv4 from your order.
- Start a meeting and sign in with jitsi_admin_user and jitsi_admin_password from the credentials file.
- Share the room link only with people who should join; guests cannot enter without credentials while guest access is off.
Where the password is
Credentials are written on first boot to:
/root/.noderings_passwordRead them over SSH:
cat /root/.noderings_password- Keys in that file include jitsi_admin_user, jitsi_admin_password and site_url.
- SSH in as root with the create-flow password or key, then run the command above.
- Change the host password after first login.
Where files live
Compose project directory
/opt/noderings/jitsi
/opt/noderings/jitsi/docker-compose.yml
/opt/noderings/jitsi/.env
Working directory for compose and secrets.
Config mounts
/opt/noderings/jitsi/cfgGenerated Jitsi config for web, prosody, jicofo and jvb.
Credentials file
/root/.noderings_passwordWritten once on first boot.
Install logs
/tmp/jitsi-admin.logHost registration log from first boot.
Boot unit
/etc/systemd/system/noderings-jitsi.serviceBrings compose up after Docker is ready.
What runs in Docker
Compose runs the official docker-jitsi-meet stack. The UI is on HTTP port 80; media uses UDP 10000.
webJitsi Meet web UI on host port 80.
prosodyXMPP and internal authentication.
jicofoConference focus / room control.
jvbVideo bridge media on UDP 10000.
Container status
cd /opt/noderings/jitsi && docker compose psLive logs
cd /opt/noderings/jitsi && docker compose logs -fRestart containers
cd /opt/noderings/jitsi && docker compose restartsystemd unit status
systemctl status noderings-jitsiAdd HTTPS with Cloudflare
Your Jitsi Meet UI starts on http://. Cloudflare can give visitors a padlock without installing anything on the VPS. Media still needs UDP 10000 to the origin.
Add your domain
Sign up at Cloudflare and add the domain you want to use.
Point it at your VPS
Create an A record to your server IP and leave the orange cloud on for HTTP(S). Keep UDP 10000 open to the origin for media.
Open the https site
Visit https://your-domain/ and sign in with the host credentials from your server notes.
Only allow Cloudflare for 80/443
Optional. With SSH (port 22) already allowed and everything else blocked by default, open only Cloudflare to ports 80 and 443:
curl -s https://www.cloudflare.com/ips-v4 | while read ip; do sudo ufw allow from "$ip" to any port 80,443 proto tcp; done
Keep port 22 allowed for SSH. Leave UDP 10000 open to participants for media.
More detail
- NodeRings does not sell Jitsi Meet as a product and is not the Jitsi project.
Jitsi Meet VPS requirements and sizing
Jitsi Meet runs several containers and a UDP media path. Give it enough RAM for concurrent participants and open UDP 10000 to the VPS.
| Workload | Illustrative starting point | Note |
|---|---|---|
| Small team meetings | 2 vCPU / 4 GB RAM / 40 GB disk | Suggested Instant App floor for a few concurrent participants. |
| Larger rooms | 4 vCPU / 8 GB RAM | More headroom when many people share video at once. |
| Media path | UDP 10000 reachable | Firewall and provider networking must allow JVB media traffic. |
| Public internet exposure | Same size; add TLS | Host login helps. Prefer TLS before you share meeting links widely. |
These are starting points, not guarantees. Needs depend on participant count, video quality and network path.
Root access and who does what
This is self-hosted Jitsi Meet on a provider VPS, not managed Zoom. You pick the plan. Jitsi Meet is prepared on that server. Day-to-day care stays with you.
What you get ready
Jitsi Meet is prepared on the VPS with Prosody internal auth, guests disabled, and a host account created on first boot.
What you keep
Root SSH on the VPS. You own provider billing, DNS, TLS, firewall choices including UDP 10000, changing the host password, backups and keeping Jitsi updated.
What is not included
Managed Jitsi SaaS, Zoom or Google Meet seats, guaranteed uptime or backups beyond what the provider offer states, and hosting your media on NodeRings infrastructure are not bundled in.
Support boundaries
NodeRings helps with marketplace, billing and console. Provider hardware issues go to that provider. Looking after Jitsi Meet on the server is yours.
Jitsi Meet VPS FAQs
Is this managed Jitsi hosting?
No. You get a virtual machine with Jitsi Meet prepared for you, plus root access. That is different from Zoom, Google Meet or a managed care plan that owns updates for you.
What is Jitsi Meet Instant App?
It prepares Jitsi Meet on the VPS you choose so you skip hunting through install guides by hand. It is still your self-hosted server, not a separate managed hosting brand.
How do I sign in after deploy?
Open https://YOUR_IP/ (self-signed TLS on first boot), start a meeting, and sign in with jitsi_admin_user and jitsi_admin_password from /root/.noderings_password.
Can guests join without a password?
No. Guest access is disabled. Only authenticated hosts can open rooms unless you change that in the compose environment.
What size Jitsi Meet VPS do I need?
A common starting point is about 2 vCPU, 4 GB RAM and 40 GB disk. Add CPU and RAM as concurrent participants grow, and keep UDP 10000 open.
What happens after I click Deploy Jitsi Meet?
You confirm the plan and finish checkout. When the server is ready, open the site URL and sign in with the host credentials from your server notes.
Can I choose the server region?
Yes. Each compatible plan lists available regions. Pick the city or country that matches latency and compliance needs.